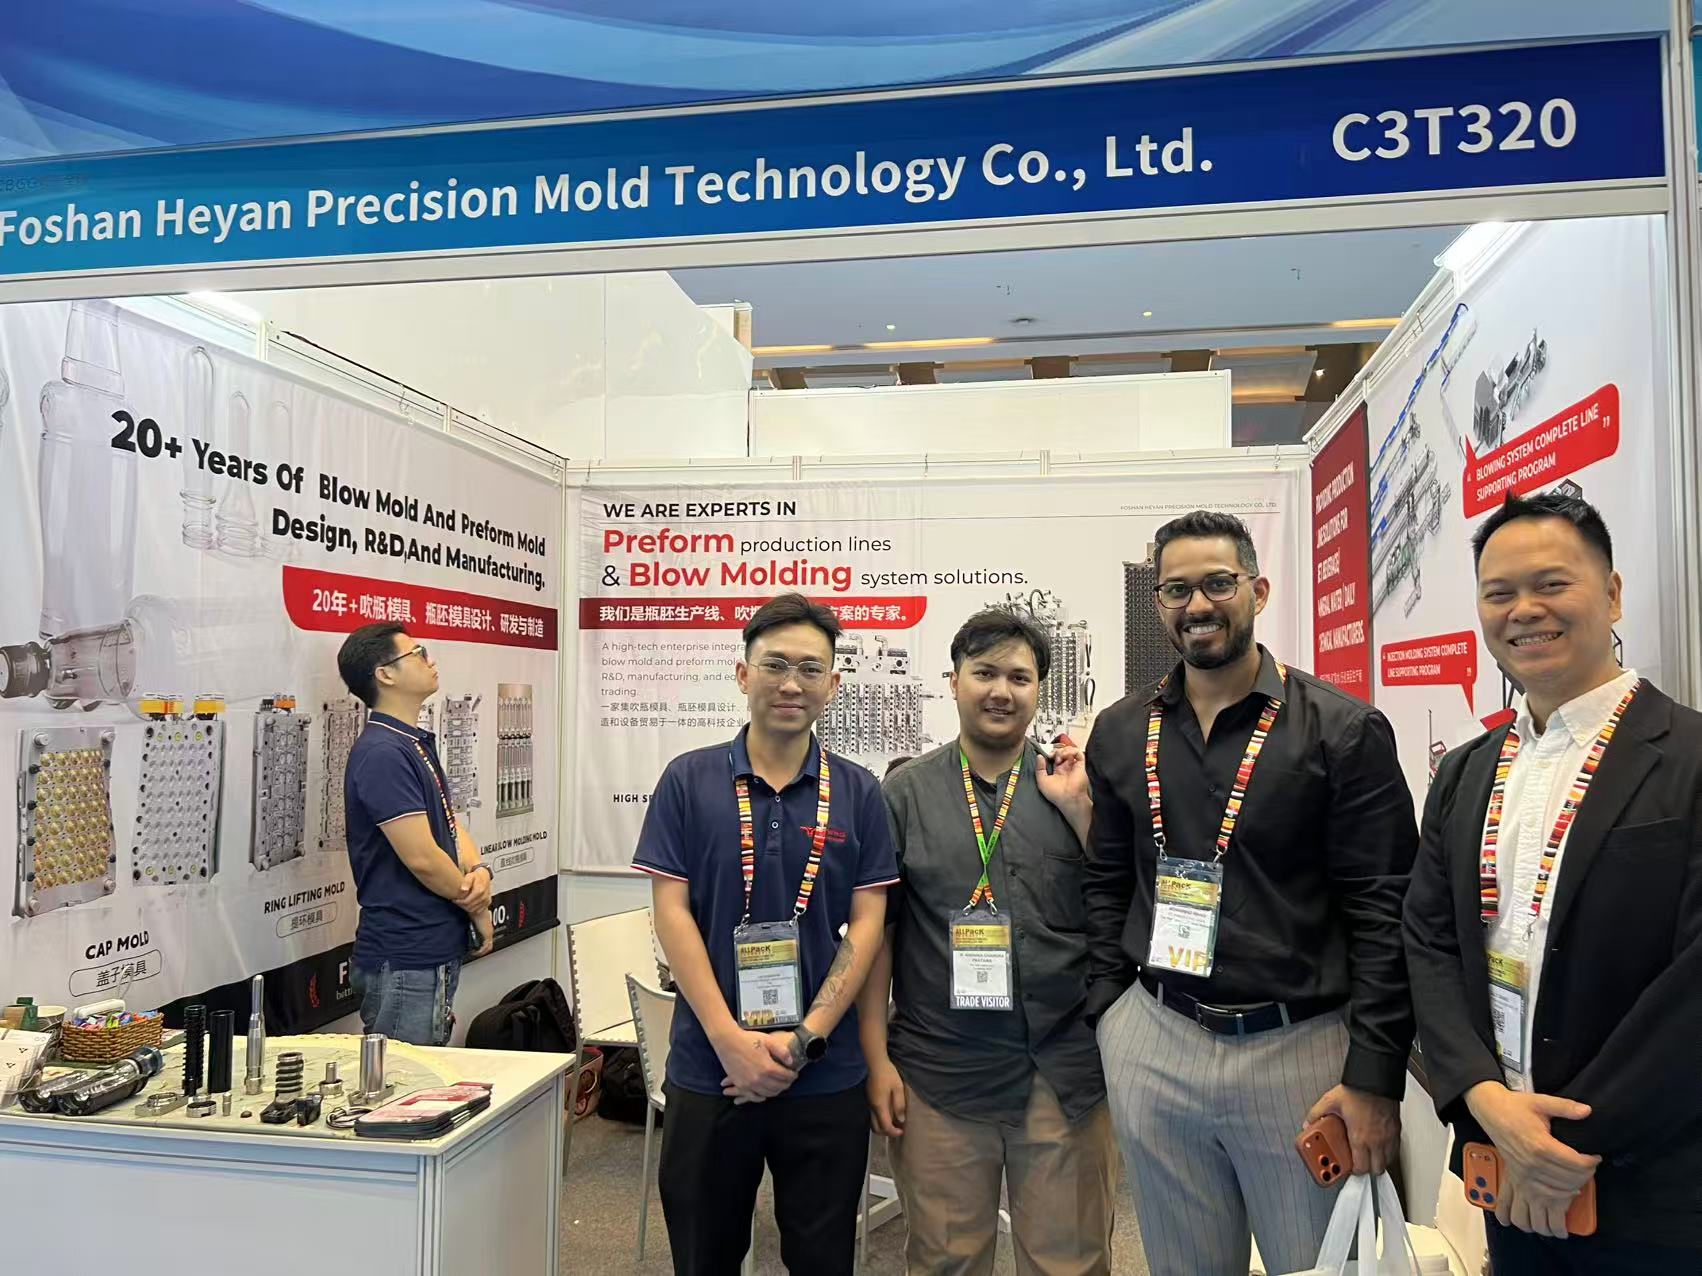
PET preform mold maintenance is not a task you postpone until the first flash or dimensional drift appears. A structured PET preform mold maintenance guide helps production teams prevent unplanned downtime, reduce scrap rates, and keep mold life within the expected range. Whether you run a 32-cavity hot-runner system for mineral water or a 48-cavity setup for carbonated soft drinks, the same principles apply: inspect, clean, lubricate, and document.
Unplanned mold stops often cost more than the repair itself. Lost production, resin waste, and downstream blow-molding line idling compound the financial impact. In our experience supporting customers across Africa, Southeast Asia, the Middle East, and Europe, the majority of urgent mold service requests originate from skipped daily checks rather than catastrophic failures.
At HEYAN Mold, established in 2018 and supported by a core team with experience in PET mold and machine engineering since the early 2010s, we have worked with beverage, food, cosmetic, and pharmaceutical packaging lines. The 27 patents held by our engineering team reflect a focus on solving practical molding problems rather than making marketing claims. This PET preform mold maintenance guide shares field-tested practices gathered from service visits and customer feedback.
Daily Care Checklist for PET Preform Molds
Daily care is the foundation of any PET preform mold maintenance program. Start every shift with a visual inspection of the PET preform mold surfaces. Look for plastic residue along the parting line, signs of moisture near cooling channels, and discoloration on cavity surfaces that may indicate overheating. A handheld borescope helps inspect deep cavities without full disassembly.
Check ejector pins and blades for free movement. Sticking ejectors are often the first symptom of insufficient cleaning or misalignment. A quick manual cycle without material confirms whether the ejector system travels smoothly through its full stroke. Listen for irregular sounds; a squeaking ejector may indicate galling that will seize if ignored.
Verify cooling circuit flow rates and temperatures against the process sheet. Even a 2°C deviation from specification can extend cycle time or create sink marks on preform neck finishes. Log the inlet and outlet temperatures if your setup allows. A gradual increase in outlet temperature across several days signals channel restriction.
Examine the hot runner system for leaks at the manifold interfaces. A small material leak at the gate tip can harden overnight and damage the gate insert during the next clamping cycle. Operators should flag any droplets or stringing immediately. Check heater cable insulation for fraying in areas where cables flex during mold open and close.
Weekly and Monthly Service Tasks for PET Preform Molds
Beyond daily checks, set a recurring service schedule for deeper tasks. These tasks extend the intervals between major maintenance events. On a weekly basis, remove and inspect guide pillars and bushings for scoring or galling. Apply a thin film of high-temperature grease only after surfaces are clean; excess lubricant attracts dust and plastic particles that accelerate wear.
Monthly tasks should include a resistance check on heating elements. A heater band that draws 10% less current than its rating may fail during the next production run. Replace elements before complete failure to avoid thermal shock on the PET preform mold cavities. Record the resistance values in the mold log to track degradation trends.
Inspect alignment pins and interlocks under magnification if possible. Misalignment accumulated over thousands of cycles accelerates wear on cavity inserts and can produce thin-wall sections in preforms that fail during blow molding. A pin that shows bright spots on one side indicates uneven loading.
Check vacuum venting paths for blockage. PET releases volatile oligomers during injection, and these can deposit in 0.02 mm vent grooves. A blocked vent causes burn marks and incomplete fill. Clean vents with a soft copper wire or approved solvent, never with a steel pick.
Common Wear Points on PET Preform Molds and Early Detection
PET preform mold components face repetitive thermal cycling, abrasive plastic flow, and mechanical clamping forces. Recognizing wear early prevents secondary damage that would otherwise require expensive insert replacement or frame repair.
Gate inserts and valve pins: Erosion around the gate orifice changes the flow pattern and creates off-center preforms. Measure gate diameter with a bore gauge during monthly teardowns. A 0.05 mm increase from the drawing indicates replacement is needed. Valve pins with bent tips or worn shut-off lands will not seal properly, causing drooling between shots.
Cavity surface finish: Haze or scratch patterns on the cavity wall transfer to the preform and create stress concentrators. Polish to the original SPI finish grade; do not over-polish, as this removes the engineered surface texture and can increase adhesion. Use only diamond paste or aluminum oxide compounds matched to the original polish level.
Parting line and seal surfaces: Flash along the split line means the seal is no longer metal-to-metal. Check for peening or rollover at the seal edge. If the damage exceeds 0.01 mm in depth, weld repair or insert replacement is required. Continuing to run with damaged seals compresses the opposite plate and creates a permanent impression.
Ejector systems: Worn ejector holes in the PET preform mold plates create slop that tilts the pin. Tilted pins score the cavity and leave drag marks on preform bases. Replace the ejector plate bushing when clearance exceeds the manufacturer’s limit. Check ejector return springs for fatigue; weak springs slow ejection and can cause pin bending.
Cleaning Best Practices for PET Preform Molds
Cleaning is the most frequent upkeep task and the easiest to perform incorrectly. Never use steel tools on cavity surfaces. Copper or brass scrapers are softer than tool steel and reduce the risk of scratches. Wooden picks work well for removing softened deposits from tight corners.
For light contamination, apply a commercial mold cleaner approved for hot-runner systems. Soften deposits for the recommended dwell time—usually 5 to 15 minutes—before wiping. Abrasive scrubbing to save time causes permanent damage. Follow the chemical manufacturer’s compatibility list; some alkaline cleaners attack nickel or chrome plating used on PET preform mold cavities.
Ultrasonic cleaning works well for disassembled cores, cavities, and small inserts. Use a neutral-pH solution and avoid prolonged exposure; 10 to 15 minutes is usually sufficient for PET residue. Rinse with deionized water and dry immediately with compressed air to prevent flash rusting. Do not mix different steel grades in the same basket, as galvanic corrosion can occur in cleaning solutions.
After cleaning, protect polished surfaces with a rust inhibitor before storage. Choose inhibitors that do not leave a silicone film, as silicone contamination causes preform surface defects during subsequent molding. Apply inhibitor sparingly; a heavy coating requires extra cleaning before the next production start and can clog vent grooves.
Lubrication and Cooling System Care for PET Preform Molds
Proper lubrication and cooling system maintenance keep a PET preform mold running at its designed cycle time. Lubrication points include slide mechanisms, lifters, thread cores, and ejector systems. Use greases rated for the mold’s maximum operating temperature, typically between 120°C and 140°C for PET applications. Re-grease according to the cycle count rather than calendar time; a mold running 24/7 needs more frequent attention than one on a single shift. Wipe away old grease completely before applying new; oxidized grease forms abrasive sludge.
The cooling system directly controls cycle time and part quality. Scale buildup in water channels reduces heat transfer efficiency. Measure the pressure drop across the cooling circuit monthly. A 15% increase from baseline indicates restriction that will lengthen cycles or cause warping.
Water quality matters. Use treated water or a closed-loop chiller with corrosion inhibitors. Hard water deposits calcium carbonate in 6 mm diameter channels within months, leading to hot spots that degrade preform clarity and increase cycle time. In plants without water treatment, expect to descale channels every three to six months depending on local water hardness.
For molds with bubbler or baffle cooling in cores, inspect these inserts during annual teardowns. Corrosion or erosion in a bubbler tube creates uneven cooling that produces oval preforms and uneven material distribution during blow molding. Replace bubbler tubes that show wall thinning or pitting.
When to Call a Mold Repair Service
Some conditions exceed in-house capability and require a qualified mold repair service. Contact a service provider when cavity damage requires welding and re-machining to original dimensions. Welding heat-affected zones change steel hardness; without subsequent heat treatment and precise CNC re-cutting, the repaired cavity will produce out-of-tolerance preforms.
Hot-runner manifold leaks that involve internal seals or valve-pin bushings usually require clean-room disassembly. Attempting repairs without the proper torque sequence risks cross-threading or cracking the manifold block. A cracked manifold is often beyond economical repair.
Dimensional drift across multiple cavities suggests frame distortion or plate warping. This requires measurement on a coordinate measuring machine (CMM) and potential frame grinding. A repair shop with mold-specific experience can determine whether welding and re-machining the frame is more economical than replacement. Frame repairs typically cost 30% to 50% of a new mold base, making the decision sensitive to the remaining expected life of the cavity inserts.
Records and Documentation for Mold Life Tracking
Every PET preform mold should carry a log that records cleaning dates, replacement parts, process deviations, and repair history. Digital logs in a shared folder or maintenance management system are preferable to paper, as they survive personnel changes and are searchable by mold serial number. Include photographs of wear conditions to support warranty claims or repair quotations.
Photograph cavity condition during each teardown. A photo sequence over two years provides objective evidence of wear progression and helps justify repair budgets to plant management. Mark photos with the cavity number, date, and shot count.
Documentation also preserves resale value. A used PET preform mold with a full maintenance history commands a higher price and faster sale than one with unknown service life. Buyers in secondary markets rely on records to assess remaining cavity life. Records should include the original cavity steel type, heat treatment specification, and any surface coating applied.
Conclusion
PET preform mold maintenance is an operational discipline, not an emergency response. Daily inspections, scheduled deep cleaning, careful lubrication, and thorough documentation protect the investment represented by each mold set. Plants that treat maintenance as a production input rather than an overhead cost typically see fewer unplanned stops and lower scrap percentages.
If you have questions about specific wear patterns, cleaning procedures for your hot-runner system, or documentation templates, contact the HEYAN Mold operations team at [email protected]. We can review your current schedule and suggest adjustments based on your cavity count, production hours, and resin grade.
— 运营团队