
A bottle comes off the machine with one base foot looking softer than the others. More blowing time helps a little. The defect returns when production speeds up. Before adding more time, take a look at PET blow mold venting. Could air be trapped behind that foot? Keep the bottle and check which cavity made it. Increasing the blow time for every cavity is a costly way to deal with a problem confined to one.
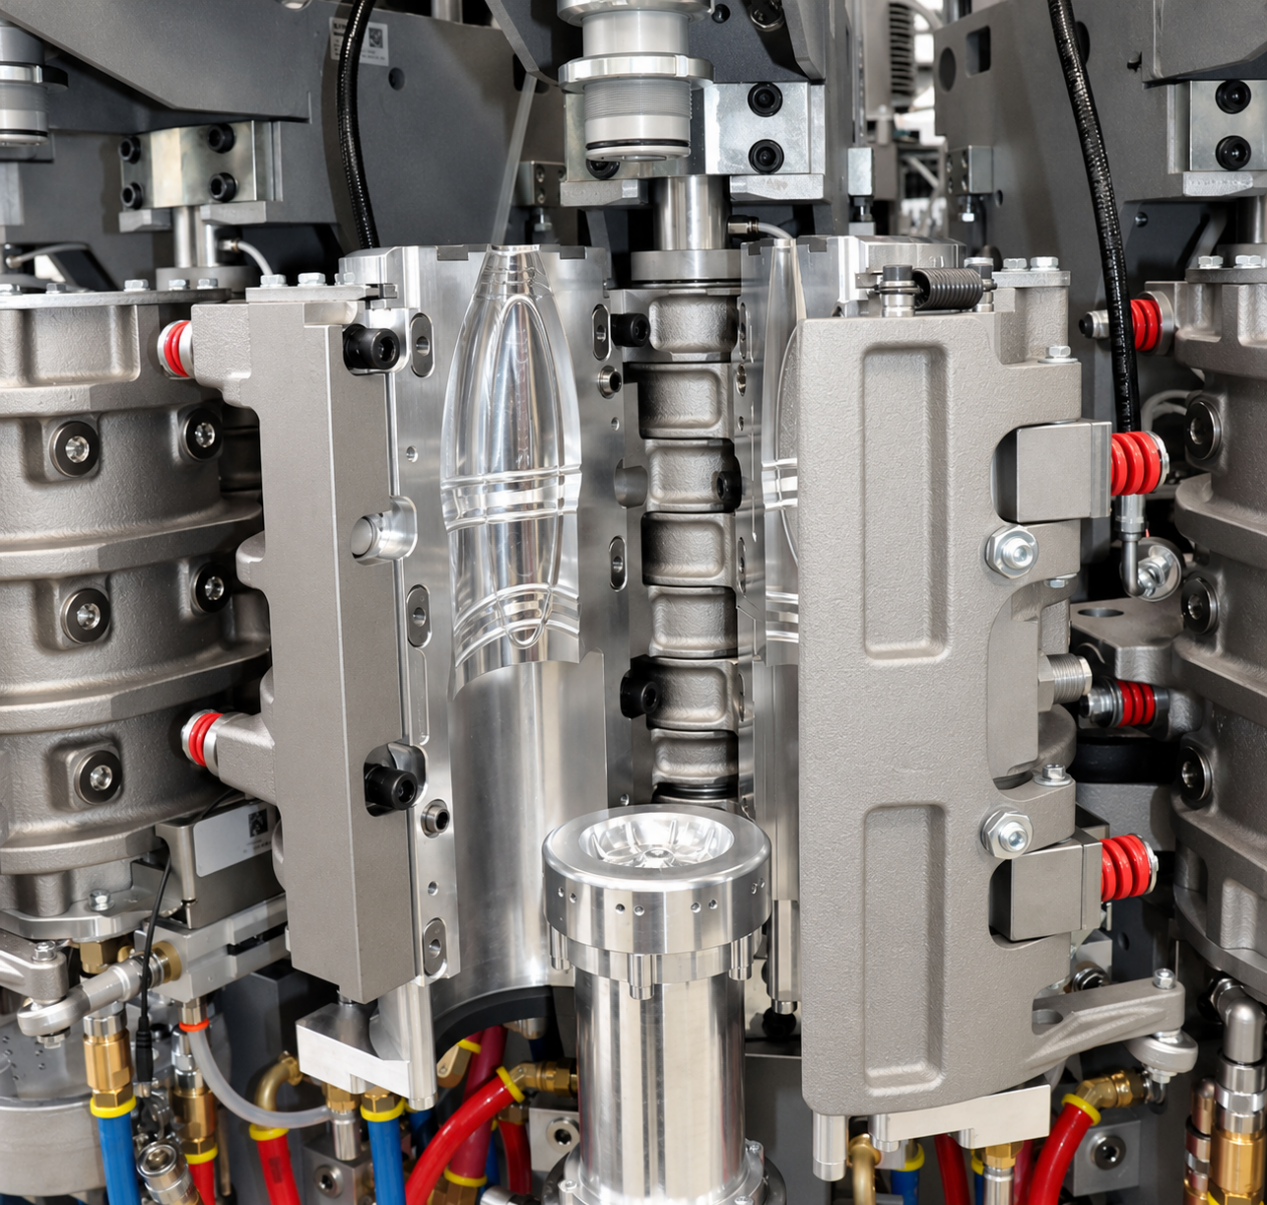
Quick Answer: How Blow Mold Venting Affects Bottles
- Venting lets the air between parison and cavity escape as the bottle forms. Blocked, undersized or badly placed vents trap that air, and the defect shows up where the air sat: a soft base foot, an unformed letter bottom, a repeating mark on one cavity.
- Trapped air also keeps the wall from contacting the mold, so cooling is delayed and the cycle gets longer — which is why adding blow time often hides a venting problem instead of fixing it.
- Treat vents as a wear item: check them at every mold change, clean with the approved method, and compare vent depth and width to the drawing before enlarging anything.
What Is Mold Venting in PET Blow Molding?
How Air Escapes During the Blow Molding Process
The blowing air goes inside the preform. Mold vents handle the air outside it. As PET stretches toward the cavity wall, it displaces that air through holes or mold vent grooves. Some designs also use a small clearance where mold parts meet. A clean entrance is no use if the outlet behind it is blocked.
Where Is Venting Most Important?
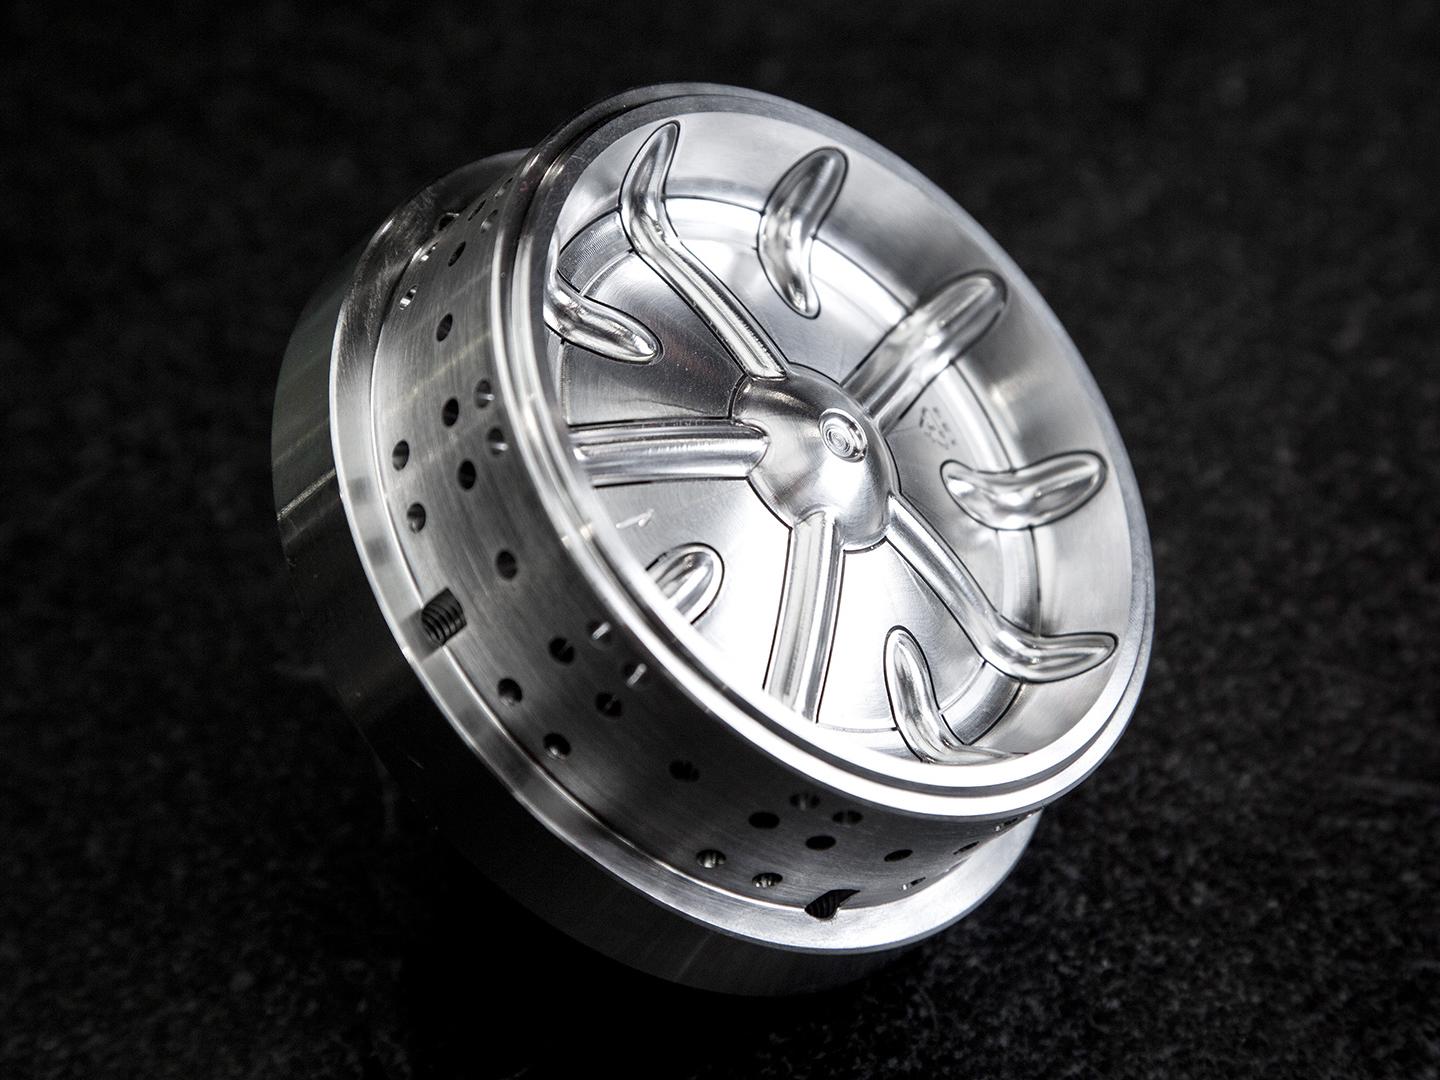
Look around shoulder transitions and bottle feet. With deep lettering, pay attention to the bottoms of the details: PET may touch the surrounding surface while air still occupies a small recess.
How Does Blow Mold Venting Affect Bottle Quality?
Incomplete Forming and Poor Detail Definition
Suppose the logo is readable, except for the bottom of one letter. That’s where we’d look for a trapped pocket of air. Compare the bottle with the cavity rather than judging it from a distance; the rest of the logo may be perfectly formed.
Surface Marks and Inconsistent Appearance
A little residue in a vent may be enough to spoil a detail repeatedly. Enlarging it might seem tempting. The trouble is that PET can pick up the shape of the enlarged opening, leaving you with a different blemish to explain.
Why Venting Is Only One Part of Quality Control
Cold PET can also struggle to copy fine detail. Uneven heating or incorrect blow timing may explain the defect. Mold alignment and cooling need checking before anyone reaches for a cutting tool.
How Does Mold Venting Influence Blow Molding Cycle Time?
Trapped Air Can Delay Consistent Mold Contact
An air pocket resists the advancing bottle wall. Extending the blow hold may seem to help, yet the restriction remains. That makes shorter settings difficult to validate. Don’t throw away the rejected bottles during those trials. You’ll need them to see whether the defect moved or simply became smaller.
Venting and Cooling Must Work Together
Close contact helps heat pass from PET into the mold. Venting supports that contact. It cannot correct restricted cooling water flow or a thick base that needs more cooling time. Check the blowing system alongside the tooling.
Can Better Venting Reduce Cycle Time?
Sometimes, if venting is the restriction. Consider this calculation for a four-cavity linear machine: 4 × 3,600 ÷ 4.0 seconds = 3,600 bottles/hour. At 3.8 seconds, the theoretical figure is about 3,789/hour. Whether venting allows that change needs a trial. And if the shorter cycle produces more rejects, the apparent gain can disappear before packing.
Common PET Blow Mold Venting Problems and How to Troubleshoot Them
1. Blocked or Contaminated Vent Grooves
A defect that wasn’t there before maintenance deserves a close look at the vents. Was debris left in a groove? Clean using the specified method. Don’t scrape until the groove “looks bigger.” Cleaning should restore its original shape.
2. Inadequate Venting in Complex Bottle Features
A deep rib remains rounded even after cleaning. Compare the defect with the drawing and trace where displaced air can escape. A vent nearby may not serve that pocket. Review its position through a controlled mold trial before adding another opening.
3. Oversized or Damaged Vents
A raised dot or a thin fin near the parting line needs a dimensional check. Measure the vent and examine its edges. Check mold closure too. If a groove has already been cut too deep, removing more metal won’t bring it back within the drawing tolerance.
Sorting bottles by cavity makes PET blow mold venting faults easier to investigate. Eight bad bottles from cavity 3 tell a different story from eight scattered across the machine. For widespread defects, check shared heating and air settings early.
| Symptom | Likely venting cause | First check |
|---|---|---|
| Base foot softer than the others | Air trapped in a local pocket at the foot | Match the bottle to the cavity; inspect the vent serving that feature |
| Detail missing at the bottom of lettering | Vent too far from the pocket or partly blocked | Compare vent position to the drawing; clean and re-check clearance |
| Same mark repeats on one cavity only | Contaminated or polished-out vent groove | Clean with the approved method; verify groove depth and width |
| Cycle drifts longer with no speed gain | Poor wall contact caused by trapped air | Confirm the vent path is open before adding blow or cooling time |
| Flash or blow-off near the parting line | Vent oversized or damaged | Measure vent depth against the drawing; replace the insert |
Best Practices for PET Blow Mold Venting Design and Maintenance
Design Vents for the Actual Bottle Geometry
Plan custom PET blow molds around the bottle’s difficult details and the intended machine. There is no universal groove size. An opening must release air without leaving an unacceptable mark or weakening nearby tooling. A vent impression hidden under a label may be unacceptable on an exposed shoulder.
Keep Venting Paths Clean and Consistent
At a mold change, it’s easy to concentrate on the large cavity surfaces and overlook a dirty vent. Make room for it on the maintenance sheet. Use the approved cleaning method; abrasive polishing can alter the mating clearance.
Validate Changes Through Controlled Trials
Leave the heating recipe alone while checking a vent repair. Otherwise, which change helped? Record the cycle and settings alongside cavity numbers. A sample with 8 bad bottles out of 200 gives you a 4% reject rate to compare against. One clean handful after the repair isn’t enough.
A Practical Checklist for Evaluating Mold Venting Performance
Keep a marked bottle beside the inspection sheet. “Shoulder defect” is less useful than a photo showing its position relative to the parting line.
- Can the defect be matched to a specific place in the mold?
- Are the grooves clear all the way to their outlets?
- Do the mold halves meet correctly, without damaged mating surfaces?
- Have heating and blow settings changed since the last good run?
- Is cooling stable at the recorded cycle time?
- Are the saved samples clearly labeled before and after adjustment?
- Log results by cavity and confirm stable production.
Save a good sample as well, especially if another shift will continue the trial.
Frequently Asked Questions
What happens when a PET blow mold vent is blocked?
In PET stretch blow molding, a blocked vent can keep part of the bottle from reaching the mold wall. How that looks varies: check for unfinished contours where the air has no exit.
Can mold venting reduce PET bottle blow molding cycle time?
It can help when trapped air limits forming. Cooling and machine timing may still set the pace. Judge the change by acceptable bottles produced per hour.
Can larger vent grooves improve bottle quality?
They might, but establish why the current vent isn’t working before cutting it. Enlarging a clean vent without checking the drawing risks visible marks. Check behind it too; the restriction may be farther along the outlet.
What causes trapped air in PET blow molding?
Air stays behind when the vent path at a feature is blocked, undersized, or placed too far from the pocket. The parison reaches the mold wall, but the pocket never fills, so the detail is incomplete while the rest of the bottle looks fine.
How often should blow mold vents be cleaned?
Tie cleaning to the maintenance sheet rather than to a feeling: inspect the vents at every mold change, clean them on the interval your scrap trend supports, and check groove depth whenever a defect repeats on one cavity.
Conclusion: Improve Bottle Quality with the Right Venting Design
Don’t approve PET blow mold venting on appearance alone. The bottle needs to keep its detail at the intended production speed. Planning a new tool? Send HEYAN TECHNOLOGY your bottle drawing and tell us which machine will run it. Include your production target so we can discuss the mold requirements against actual operating needs.
