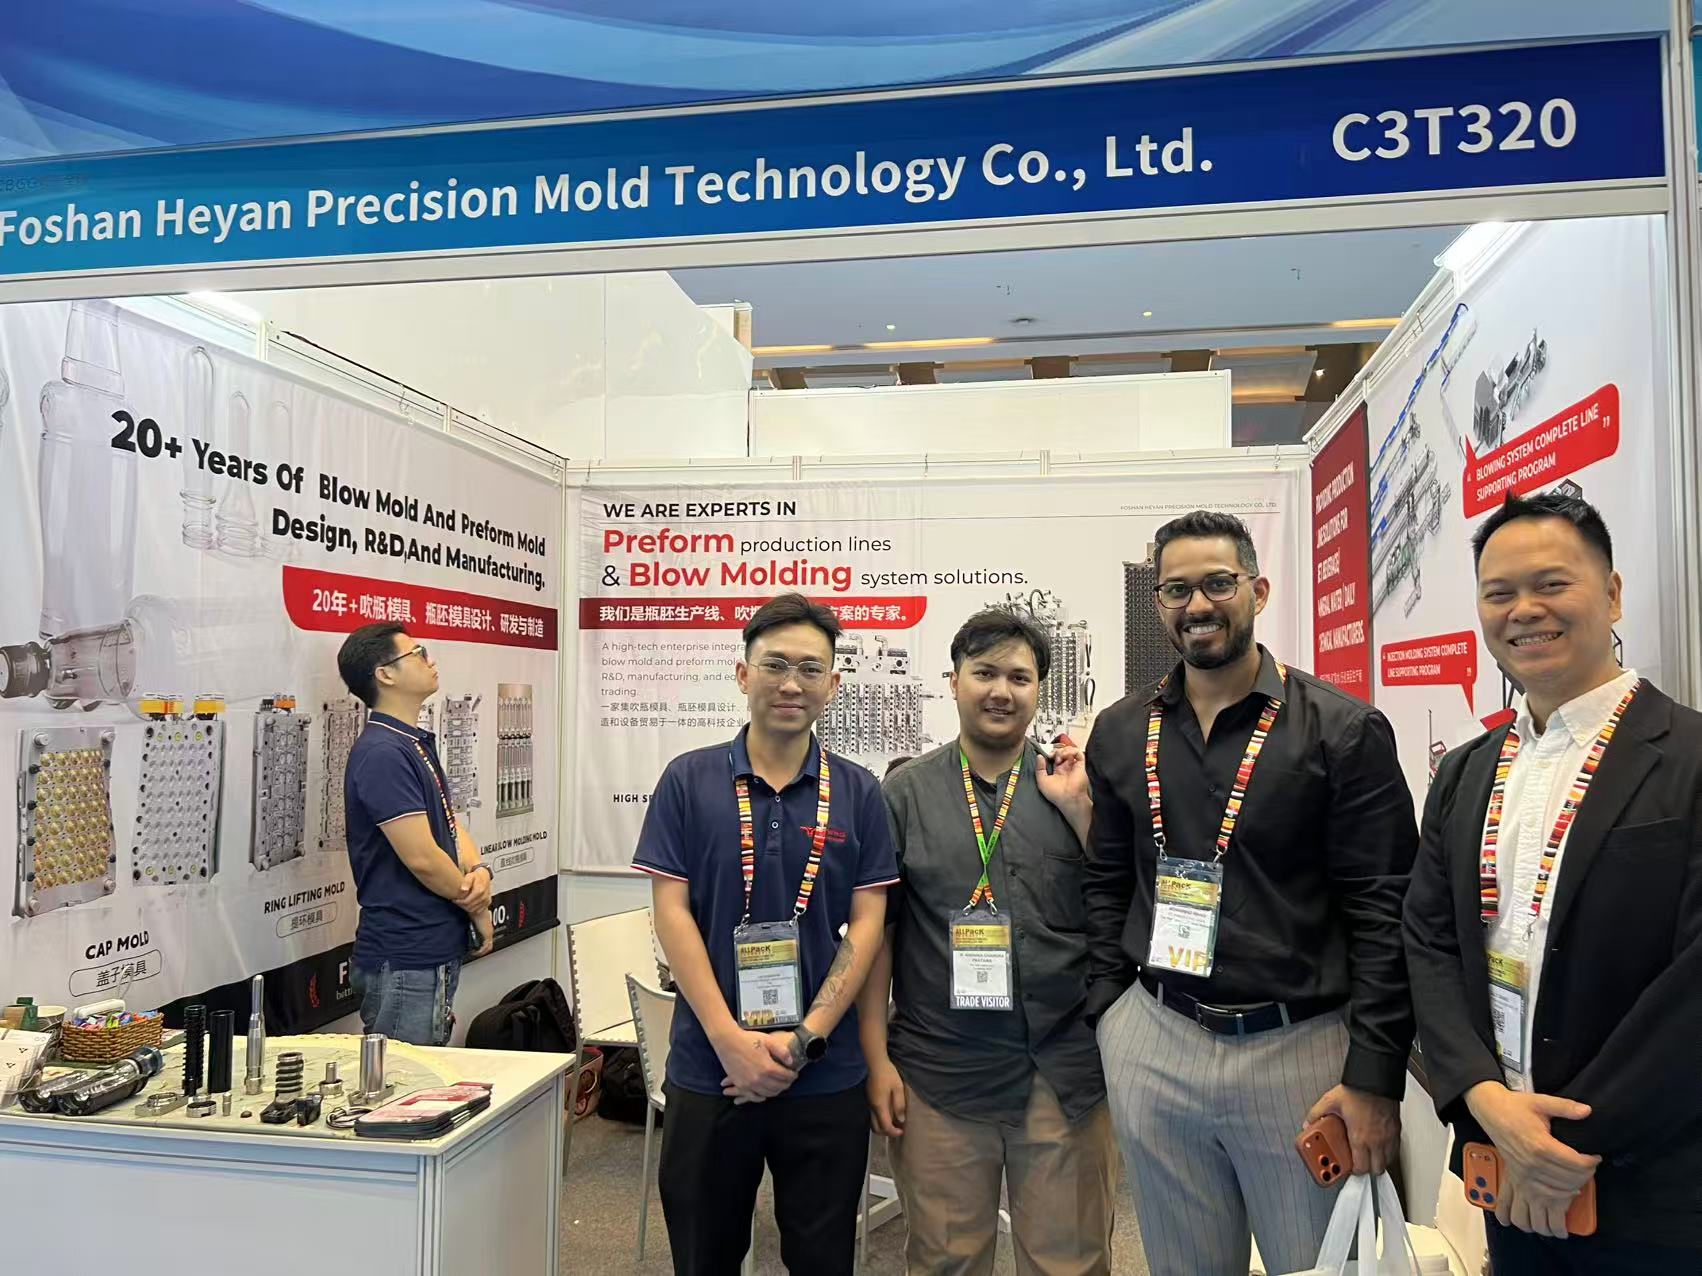
PET bottle blowing defects affect every segment of the packaging industry, from mineral water and carbonated soft drinks to edible oils, cosmetics, and pharmaceutical containers. When a defect appears on the production line, the first assumption often points to the blow molding machine or the resin. In practice, roughly 60% of recurring quality issues trace back to the preform mold, the hot runner, or the cavity conditioning. Understanding how mold geometry, cooling balance, and gate design interact with bottle forming is the first step to cutting scrap rates and maintaining dimensional repeatability. This guide breaks down ten common PET bottle blowing defects, explains root causes linked to mold and process variables, and lists practical fixes you can apply on the floor.
1. Pearlescence and Stress Whitening
Pearlescence is a blowing defect that appears as a cloudy, iridescent film on the bottle surface. Stress whitening shows as chalky streaks, usually at the shoulder or heel. Both indicate that PET molecular chains have been forced beyond their natural stretch limit.
- Causes: In the injection mold, hot spots in the cavity or core create temperature gradients across the preform wall. When these unevenly cooled preforms enter the stretch blow stage, thicker sections resist deformation while thinner sections overstretch, inducing internal stress. Low mold temperature in the neck ring or improper rod speed settings amplify the whitening effect.
- Detection: Inspect empty bottles under polarized light or place them against a dark background with strong side illumination. Pearlescence shows up as rainbow-like bands, while stress whitening appears as chalky streaks near the shoulder or base.
- Fix: Verify core and cavity temperatures are balanced within ±2°C across all stations. Polish hot-runner tips to eliminate material hang-up that causes localized overheating. Reduce stretch rod acceleration if the whitening concentrates at the base. If the problem persists after process tuning, inspect the preform mold for clogged cooling channels or worn water jackets.
2. Wall Thickness Variation
Wall thickness variation is a PET bottle blowing defect that directly impacts drop resistance, shelf life, and labeling consistency. A variation greater than 0.1 mm between panels often triggers downstream rejection.
- Causes: Misaligned stretch rods, eccentric preform weight distribution, or non-uniform cavity temperatures in the injection mold can leave one side of the container thicker than the other. Worn mold platens or damaged cavity inserts create asymmetric material flow during blowing.
- Detection: Use a magnetic thickness gauge or cut samples at 90-degree intervals around the circumference. Measure the shoulder, body, and heel independently. Map the data back to the cavity number to identify mold-specific trends.
- Fix: Realign stretch rods and check concentricity with a dial indicator. Rebalance cooling circuits so that each cavity reaches the same setpoint within 3°C. Replace worn inserts that produce systematic offsets. For multi-cavity tools, run cavity-specific SPC charts to isolate outliers.
3. Bottom Center Deviation
Bottom center deviation is a forming defect that occurs when the injection point or blow center shifts from the geometric center of the PET bottle base. This weakens the base and can cause instability during conveyor transport.
- Causes: Worn mold guide pins, uneven clamp force, or thermal distortion of the blow mold cavity shift the parison off-center. In preform production, a misaligned gate insert pushes the injection vestige to one side, making symmetrical blowing impossible.
- Detection: Place the bottle on a flat glass plate and backlight the base. The shadow line reveals whether the center dome is offset. Alternatively, cross-section the base and measure the distance from the injection vestige to the outer wall.
- Fix: Inspect and replace worn guide components in the blow mold set. Verify clamp tonnage is uniform across the platen. If the source is upstream, replace the gate insert in the preform mold and recenter the hot-runner valve stem.
4. Neck Deformation
The neck finish must remain within strict tolerance to seal correctly with caps and closures. Neck deformation is a PET bottle blowing defect that creates leakage paths and capping jams.
- Causes: Excessive heat transfer from the body cavity into the neck ring zone causes PET to crystallize and shrink unevenly. Poorly vented neck rings trap hot air, and contact between the preform support ring and an overheated mold surface warps the threads.
- Detection: Thread profile gauges and optical comparators verify pitch diameter and ovality. Fill the bottle with water, invert it, and apply target torque; any seepage at the neck indicates deformation.
- Fix: Increase neck-ring cooling flow or switch to a bimetallic insert that reduces thermal conductivity. Ensure vent slots are free of dust and oil residue. Lower the conditioning temperature if neck crystallinity exceeds specifications.
5. Vertical Cracks and Fractures
Vertical cracks running from the base toward the shoulder represent one of the most serious PET bottle blowing defects because they compromise pressure retention and product safety.
- Causes: Stress concentrators in the mold—such as micro-cracks in the cavity, sharp radii at the heel transition, or plating peeling—initiate fractures under internal pressure. Excessive preform reheat or contamination in the resin lowers the natural stretch ratio, making the material brittle at the contact points.
- Detection: Perform a burst test or carbonated water filling at 4.2 volumes CO₂, then store samples at 38°C for 48 hours. Cracks typically propagate from the base corner. Visual inspection under UV light can reveal incipient fractures before they penetrate the wall.
- Fix: Polish or re-chrome cavity surfaces to eliminate micro-notches. Increase the heel radius to at least 2.5 mm. Check the preform mold for gate crystallinity; a crystallized gate reduces stretchability and must be addressed by adjusting hot-runner temperature or gate geometry.
6. Haze and Cloudiness
Haze is an optical process defect measured as the percentage of transmitted light scattered by the bottle wall. Values above 3% typically indicate mold surface or cooling issues.
- Causes: Rapid cooling at the preform stage locks in amorphous structure, but uneven quenching in the injection tool leaves regions of different density. During blowing, these regions refract light differently. Contaminated mold surfaces—oil, water scale, or oxidized polymer—also scatter light and produce a cloudy appearance.
- Detection: Use a haze meter on a flat panel cut from the bottle body. Compare readings against a reference sample produced under known good conditions. A difference greater than 1.5% confirms a defect.
- Fix: Clean and dry cavity surfaces with approved solvents; avoid silicone-based mold releases that leave a film. Adjust mold cooling so that the ejection temperature is uniform across all cavities. Lower the reheat oven temperatures if haze increases with blowing speed.
7. Preform Flashing
Flashing is an upstream mold defect that creates excess material squeezed into the parting line or vent gaps. It produces raised lines that interfere with automatic loading into the blow molding machine.
- Causes: Insufficient clamp force, worn parting-line seals, or excessive injection pressure force molten PET into gaps as small as 0.02 mm. Thermal expansion of the mold plates during continuous running can also open the seal.
- Detection: Run a full clamp-pressure study and inspect the parting line with a 10× magnifier. Flash thinner than 0.1 mm may be invisible to the naked eye but will still cause indexing errors in rotary blow molders.
- Fix: Verify clamp tonnage matches the projected area of the preform. Resurface or replace parting-line inserts that show galling or erosion. Reduce injection hold pressure in 5-bar increments until flash disappears without creating sink marks.
8. Ovality and Dimensional Issues
Ovality in the bottle body or neck affects labeling, sleeve application, and pallet stacking. It is a dimensional defect that often couples with uneven wall distribution.
- Causes: Unbalanced blow air delivery, asymmetric mold cavity cooling, or ovality already present in the preform transfers into the final container. Mechanical distortion during ejection—especially in hot tools without adequate core support—sets the oval profile before blowing even begins.
- Detection: Measure major and minor diameters with a digital caliper at three heights. Calculate ovality as (Dmax – Dmin) / mean. A value above 0.5 mm for a 70 mm body typically triggers downstream rejection.
- Fix: Balance blow air volume to both sides of the split mold. Check water flow rates in cavity cooling circuits; a 10% difference between halves is enough to cause ovality. Correct preform ovality first by inspecting core alignment and support ring concentricity in the tool.
9. Color Variation and Streaking
Color variation and streaking are visible as bands or patches of different shade across the bottle surface. In clear applications, this reads as yellowing or bluish tints rather than pigment streaks.
- Causes: Residence time differences between cavities in a multi-cavity tool create thermal degradation gradients. Worn hot-runner nozzles produce shear heating that yellows PET in one cavity while leaving another clear. Dead spots in the melt delivery system trap degraded resin that releases in random shots.
- Detection: Compare L, a, b* color values using a spectrophotometer on panels cut from each cavity. A ΔE greater than 1.0 between cavities indicates a mold-side issue rather than bulk resin variation.
- Fix: Dismantle and polish hot-runner channels to remove carbon buildup. Ensure all nozzle thermocouples read within 5°C of setpoint. If one cavity consistently deviates, replace its dedicated heater and tip assembly. Run a short-shot study to verify balanced filling across all gates.
10. Bubbles and Voids
Bubbles trapped in the bottle wall or base reduce structural integrity and can expand under carbonation pressure, leading to failure during distribution.
- Causes: Moisture in the resin is the primary driver, but mold-related causes include inadequate venting in the cavity, excessive injection speed that entrains air, and localized overheating that degrades PET into volatile byproducts. Voids at thick sections like the gate indicate insufficient packing due to gate freeze-off.
- Detection: Section the bottle wall and inspect under a stereo microscope. True bubbles are spherical and contain gas; voids are irregular and evacuated. Polarized light helps distinguish between trapped air and crystalline voids.
- Fix: Dry resin to <50 ppm moisture before processing. Enlarge vent depths in the mold to 0.02–0.03 mm at the last-fill area without risking flash. Reduce injection speed in the first stage and extend hold time to eliminate voids at the gate. Check hot-runner temperature uniformity; a cold gate causes premature freeze-off.
How to Prevent Blowing Defects Through Mold Design
Most PET bottle blowing defects can be traced upstream to preform quality, which is governed by the mold. Investing in preform mold design up front eliminates most of these failure modes and reduces long-term cost.
- Cavity Cooling Balance: Use computational fluid dynamics to simulate water flow through core and cavity circuits. Target a temperature variation below 2°C between the hottest and coldest cavity.
- Gate Geometry: Select gate diameters based on preform weight and PET intrinsic viscosity. A gate that is too small causes shear degradation and crystallinity; one that is too large extends cycle time and creates gate voids.
- Venting Strategy: Place vents at the last material entry points and at knit-line positions. Vent depth should be shallow enough to prevent flash but deep enough to allow air evacuation before PET freeze.
- Surface Finish: Maintain cavity surfaces at Ra 0.2 µm or better. Rough surfaces create stress risers that translate into fractures and pearlescence in the final PET bottle.
When Mold Repair Is Not Enough: Replacement Signals
Repairing a mold can restore performance up to a point. There are clear signals that maintenance is no longer economical.
- Wear Limits: Cavity dimensions that have drifted beyond ±0.05 mm of nominal cannot be recovered by welding and re-machining without altering cooling channel geometry. At this stage, dimensional defects become systematic and irreversible.
- Cooling Channel Blockage: Internal corrosion or scale that reduces flow by more than 30% usually cannot be cleaned mechanically without breaching the cavity wall. Mold redesign with conformal cooling may be required.
- Material Degradation from Age: Hot-runner systems that have operated above 280°C for more than five years often suffer from degraded manifold seals and heater insulation. Repair costs can approach 60% of a new system.
- Pattern Evidence: When the same defect repeats on a single cavity after multiple repair cycles, and swapping the cavity insert to another station moves the defect with it, the insert itself is structurally compromised. Replacement is the only viable solution.
Purchasing a replacement tool should be based on verified cavity simulations and sampled preforms, not on catalog claims. HEYAN Mold, established in 2018, builds preform tooling designed for specific bottle weights and cycle-time targets rather than generic throughput promises. Our engineering team holds 27 patents in hot-runner and cavity design, and we validate cooling balance by thermal imaging before shipment.
Conclusion
Controlling PET bottle quality issues requires a systematic approach that starts at the preform stage. By monitoring mold condition, cooling balance, and gate health, producers can shift from reactive troubleshooting to predictive quality control. Each defect described above carries a mold-side signature; learning to read that signature is what separates intermittent scrap from consistent output.
If you are seeing repeated quality issues and suspect the root cause lies in your mold or blow mold set, send your defect photos and production parameters to our engineering team. We can review your case and recommend whether repair, modification, or replacement is the most cost-effective path forward.
Contact: [email protected]
运营团队